How to Prep a House for Painting

Introduction
Welcome to Hughes Painting Inc., your ultimate destination for all your home service needs. As professional painters, we understand the importance of proper preparation before starting any painting project. In this comprehensive guide, we will walk you through the step-by-step process of prepping your house for a pristine painting job.
Why Prep is Crucial
Prepping your house before painting is an essential step that can make or break the final result. Neglecting proper preparation can lead to unsightly paint peeling, uneven finish, and compromised durability. By investing time and effort into prepping your house, you ensure that the paint adheres well, extends its lifespan, and creates a visually appealing outcome.
Gather Your Tools and Materials
Before diving into the preparation process, gather all the necessary tools and materials. This includes:
- Drop cloths or plastic sheets
- Painter's tape
- Fine-grit sandpaper
- Putty knives
- Paint scrapers
- Caulk and caulking gun
- Mild detergent and sponge
- High-quality primer
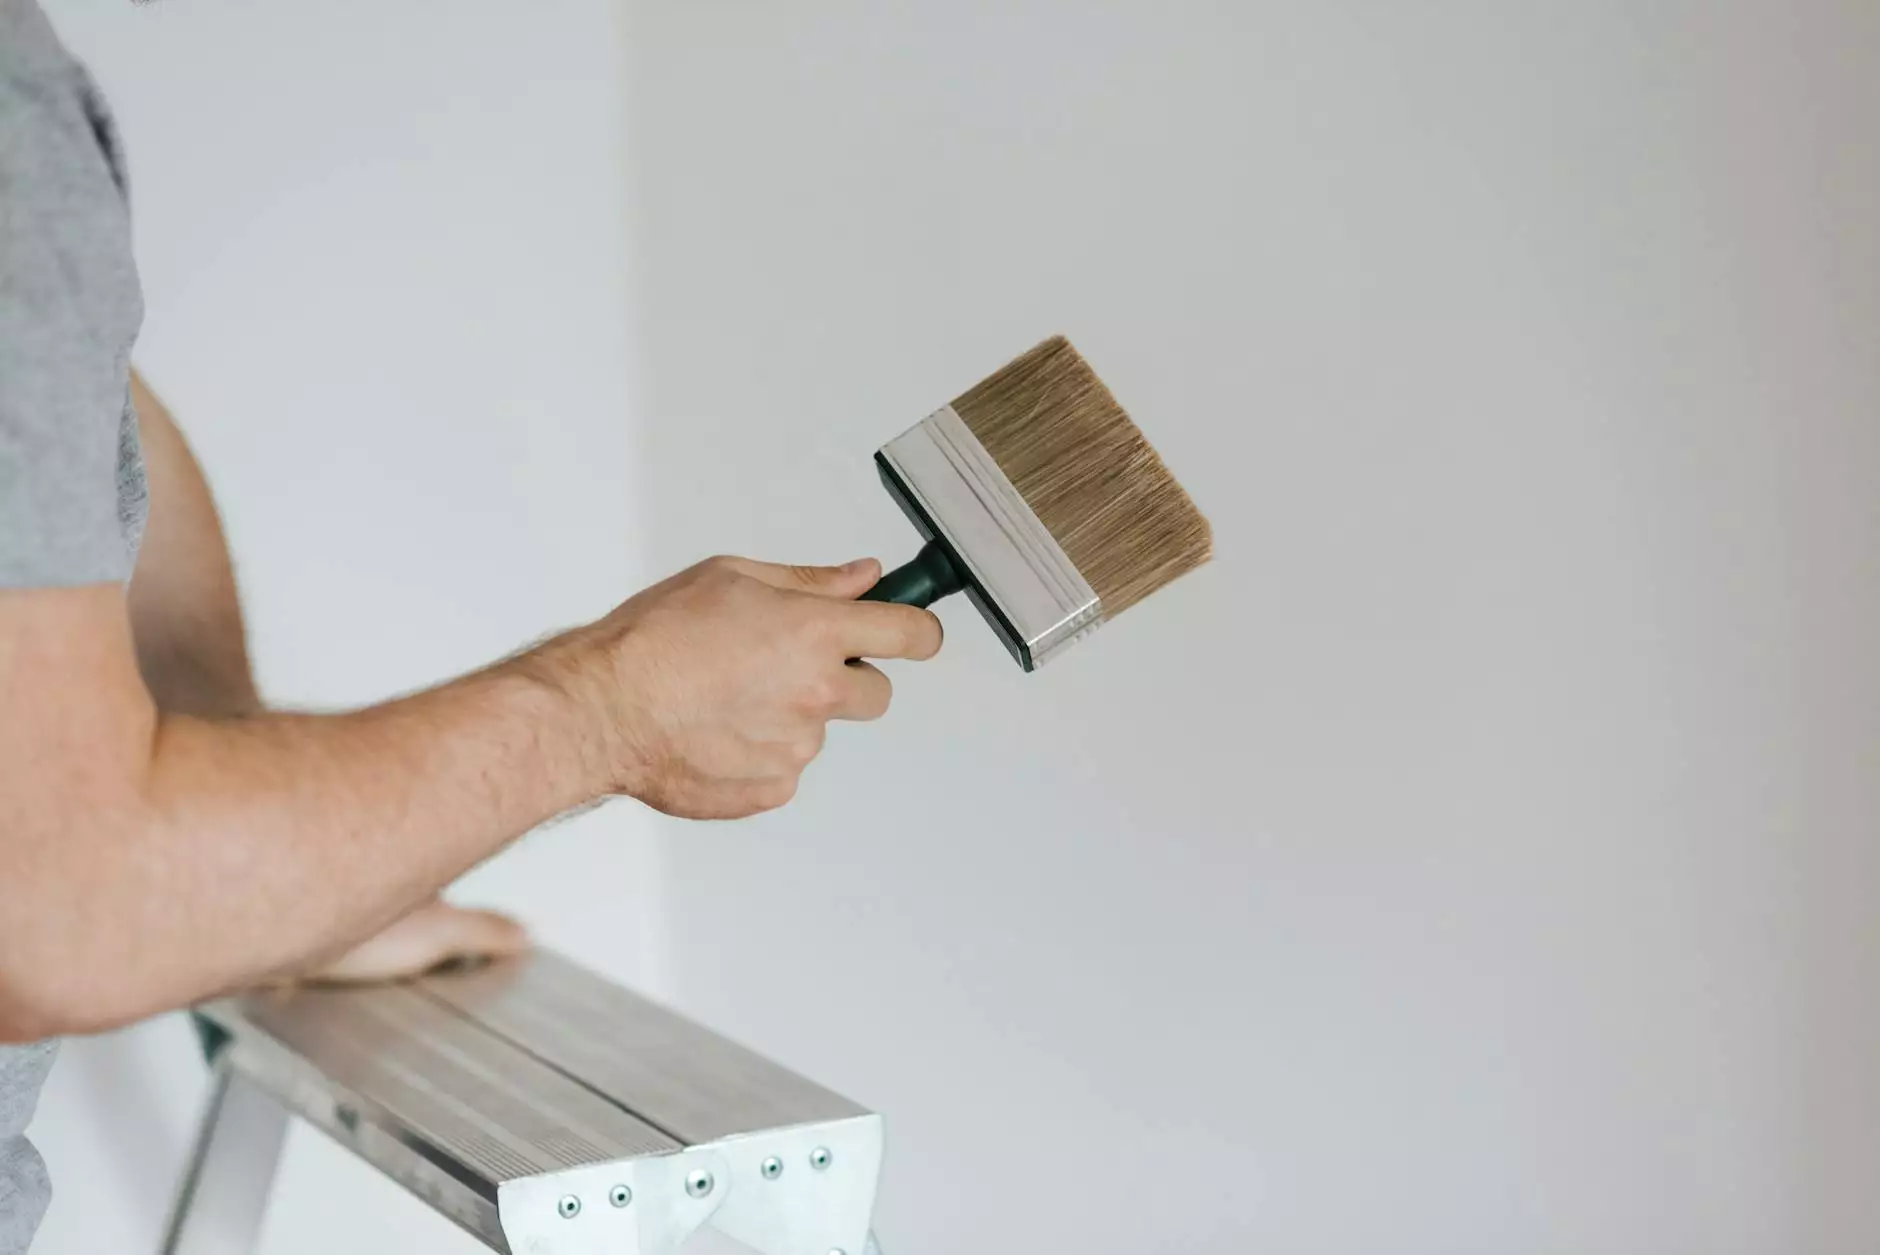
- Paintbrushes and rollers
Step-by-Step Guide
1. Clear the Area
Start by removing any furniture, decorations, or obstacles from the painting area. This ensures an unobstructed working space and prevents accidental paint splatters on valuable belongings.
2. Protect Surfaces
Cover all surfaces that won't be painted using drop cloths or plastic sheets. This includes floors, furniture, windows, light fixtures, and any other items that can't be removed from the room. Secure the coverings with painter's tape to ensure they stay in place during the painting process.
3. Inspect and Repair
Thoroughly inspect your walls, ceilings, and trim for any damages, cracks, or holes. Use a putty knife to scrape off loose paint and a paint scraper to remove any old, peeling paint. Fill the gaps and holes with a suitable putty or spackle and smooth the surface with fine-grit sandpaper.
4. Wash the Surfaces
Clean the surfaces to be painted with a mild detergent and sponge. This removes dirt, grime, and grease, allowing for better paint adherence. Rinse off the soap residue and let the surfaces dry completely before proceeding.
5. Caulk and Seal
Apply caulk to any gaps, cracks, or seams present on the walls, trim, or windows. A caulking gun is a handy tool for achieving a precise application. Caulking helps in creating a seamless finish, prevents moisture penetration, and enhances the overall aesthetics.
6. Sand the Surfaces
Use fine-grit sandpaper to lightly sand the surfaces, ensuring smoothness and promoting better paint adhesion. Sanding also helps to level out imperfections and removes any rough patches left after previous scraping or filling.
7. Prime the Surfaces
Apply a high-quality primer to the prepped surfaces. Priming not only enhances the paint's durability but also provides a uniform surface for the paint to adhere to. It covers imperfections and creates a solid foundation for the final coat of paint.
8. Final Touches
Inspect the prepped surfaces one last time, making sure everything is smooth, clean, and ready for painting. Fill any remaining small imperfections with a touch of putty or spackle, and lightly sand those areas once more if necessary.
Conclusion
Congratulations! You have successfully mastered the art of prepping a house for painting. By following this comprehensive guide, you are well on your way to achieving a flawless and long-lasting paint finish. Remember, investing time and effort in the preparation stage is crucial for a professional-grade paint job. At Hughes Painting Inc., we take pride in delivering exceptional results and transforming your space into a masterpiece. Trust our expert painters and witness the outstanding difference in our work.
how to prep a house for painting


